
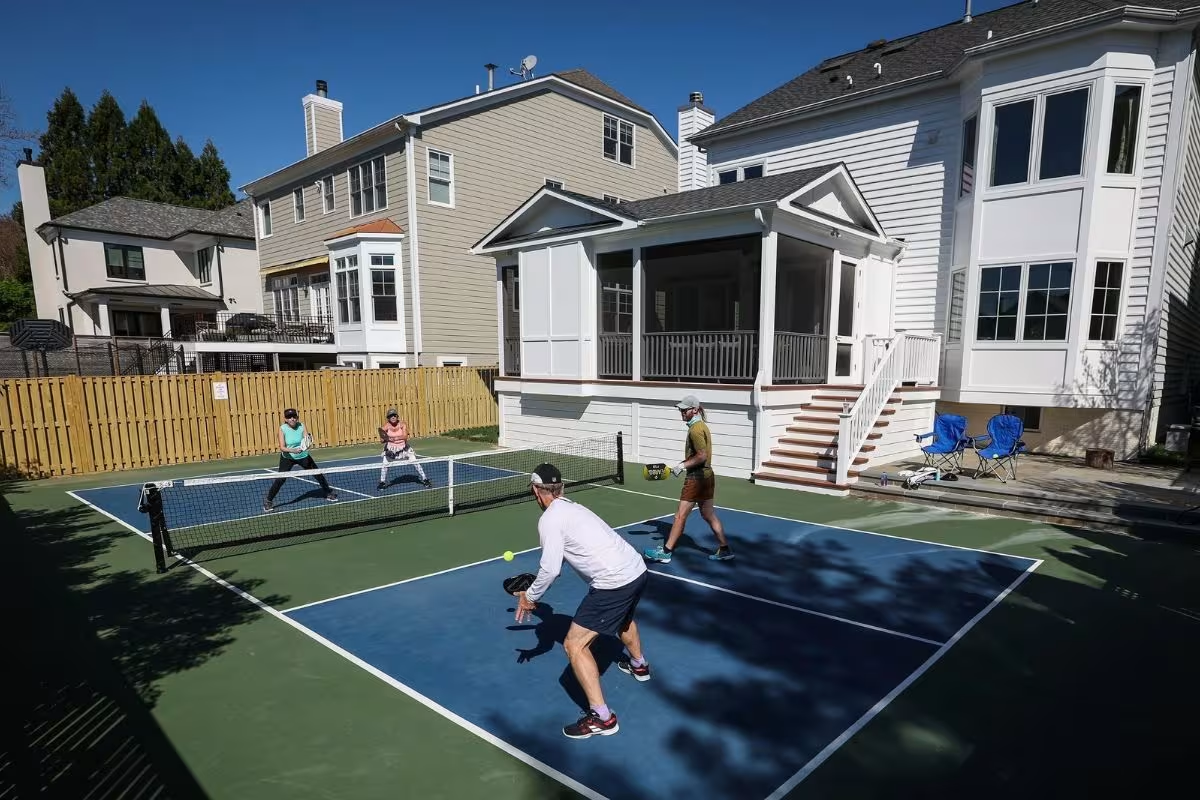
Home Pickleball Court Construction Guide: With the surging popularity of pickleball, more players are seeking opportunities to play without the hassle of public courts. Building a home court can provide the perfect solution for dedicated players wanting to practice and enjoy the sport at their convenience.
Step 1: Assess the Space for Pickleball Court
The journey begins with thorough planning. Identifying the right location and taking accurate measurements are crucial steps in determining whether the players prefer a temporary setup or a permanent installation.
Space Requirements
- Standard Court Dimensions: A pickleball court typically measures 20 feet in width and 44 feet in length.
- Total Area Needs: Include additional space around the court for player movement—approximately 10 feet beyond the baselines and 5 feet beyond the sidelines. Ideally, aim for an area measuring around 30 by 64 feet. If space is limited, players can slightly reduce the surrounding area while maintaining the official court size for an authentic experience.
Step 2: Choose the Playing Surface
With the space identified, the next task is to select the appropriate surface material.
Surface Options
- Concrete or Asphalt: These are the most durable choices, providing excellent ball bounce but requiring more preparation and installation costs.
- Modular Game Court Tiles: Designed specifically for sports, these tiles can be laid over existing surfaces. They offer added cushion and a professional feel.
- Grass or Dirt: If players are looking for a more casual setup or prefer not to commit to permanent changes, this option can work. Keep in mind that additional subsurface preparation may be needed for consistent ball performance.
Remember, a slight 1-degree incline on the court is ideal for drainage, preventing water accumulation and ensuring a dry playing surface after rain.
Step 3: Define Pickleball Court Lines
Now that the surface is ready, it’s time to mark out the court lines using the following tools: measuring tape, chalk or painter’s tape for temporary markings, and outdoor paint for a permanent setup.
Line Marking Process
- Sidelines: Measure and mark 44 feet long on each side.
- Baselines: Each end should be marked at 20 feet wide.
- Non-Volley Zone (Kitchen): Mark a 7-foot area from the net on both sides, parallel to the net.
- Centerline: Draw a line splitting the court lengthwise from the baseline to the kitchen line.
To ensure straight lines, consider using a laser level or string as a guide. Investing in high-quality outdoor court paint will also ensure the lines remain crisp and durable over time.
Step 4: Set Up the Pickleball Net
A proper pickleball court isn’t complete without a net. The standard height is 36 inches at the sides and 34 inches at the center.
Net Installation Options
- Permanent Net: Secure sturdy net posts into the ground for a permanent installation ready whenever players are.
- Portable Net: This flexible option is perfect for temporary setups, allowing the players to easily set up and take down the net.
Step 5: Surface Enhancement (Optional)
Elevate the court with some finishing touches for enhanced performance and aesthetics.
Additional Finishing Touches
- Acrylic Sports Court Paint: Most professional courts feature blue or green surfaces with white boundary lines.
- Non-Slip Paint: If painting concrete or asphalt, consider using non-slip paint for safety, especially when wet.
- Lighting: Installing outdoor lighting, such as solar-powered lights or LED floodlights, can extend the playtime into the night.
Step 6: Personalize with Accessories (Optional)
Customize the court to enhance functionality and comfort.
Accessory Ideas
- Fencing: A fence or netting around the court keeps the balls in play and adds a professional look.
- Seating: Incorporate benches or chairs along the sidelines for players to rest.
- Storage Solutions: Consider adding a small shed or hooks nearby for paddles, balls, and other equipment.
Step 7: Final Steps and Maintenance
With the court completed, some final touches and ongoing maintenance will ensure its longevity.
Maintenance Tips
- Regular Cleaning: Keep the surface clear of dirt and debris to prevent slips and maintain optimal playability.
- Repainting: Touch up faded lines as needed to keep them visible.
- Net Tension: Ensure the net remains taut to avoid sagging.
Having a small maintenance kit nearby, including a broom, roller, and extra paint, will simplify upkeep, allowing the players to focus on enjoying the court.
Pro Tips: Expert Insights for the Court
- Drainage Considerations: Maintain a slight slope (about 1 degree) for proper drainage to prevent puddles.
- Color Choices: Use contrasting colors for court surfaces and lines to improve visibility during play; green and blue are popular choices for courts, with white or yellow for lines.
- Wind Protection and Shade: If the court is exposed, consider windbreakers or trees to minimize wind disruption. Shade from umbrellas or trees will make summer games more comfortable.
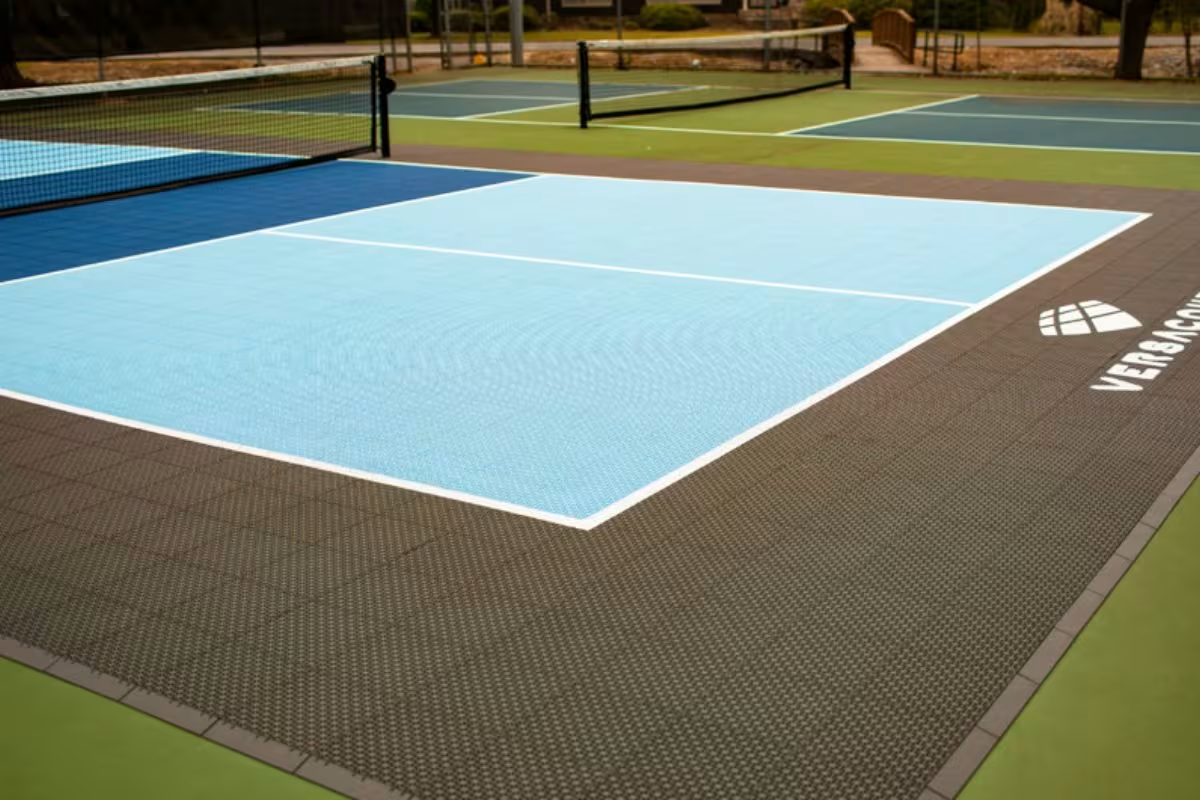
How VersaCourt Simplifies the Court Construction
Building a pickleball court can be easier with the right tools and support. VersaCourt offers solutions that bring a home court vision to life with customizable options and professional-grade materials.
Ready-to-Use Kits
VersaCourt provides ready-to-assemble kits in standard sizes, complete with pre-painted colors and shipped on standard concrete pads, allowing for a quick and hassle-free setup.
Custom Design Options
If players have specific space requirements, VersaCourt can create a court tailored to their dimensions, ensuring a perfect fit in their yard.
Online Design Tools
Utilize VersaCourt’s online court designer tool to visualize the court layout, colors, and features from home, making the planning process straightforward.
In-House Design Assistance
Personalize the court with the help of VersaCourt’s in-house design team, which can assist in adding custom logos, crests, or unique color schemes to make the court uniquely yours.
Night Play Lighting Solutions
Keep the games going after dark with VersaCourt’s energy-efficient LED lighting systems, designed to provide excellent visibility and save on energy costs.
News in Brief: Home Pickleball Court Construction Guide
With the rise of pickleball’s popularity, many players are looking to create their own courts at home. This step-by-step guide covers essential planning, preparation, and installation steps for a personal pickleball court, from measuring the space and choosing a suitable surface to marking court lines and installing a net.
Optional finishing touches include adding lighting and accessories. VersaCourt simplifies this process, offering customizable kits and online design tools, making it easier than ever to turn the backyard into a pickleball haven.
ALSO READ: New Pickleball Courts at Miller Park Arriving With Game Changing Future